
If you are serious about vaping then chances are you will have invested a nice little chunk of change when buying your tank.
While there are certainly cheap alternatives out there, it’s often a smarter move to buy a tank that is designed to last.
There are some things that you can do to extend the life your tank.
It is by no means the most expensive part of your set-up, but it can get pricey if you are forced to change it out every few months.
One of the best things that you can do to keep your tank operating as it should is to clean it on a regular basis.
If you’ve been wondering how to clean a vape tank, continue on as I show you exactly how it should and how it shouldn’t be done…
WHY SHOULD YOU CLEAN YOUR TANK

We have already discussed protecting your investment when dealing with your tank, but there are other reasons why keeping it clean is a good idea.
We actually have 3 very specific reasons why you should be cleaning your tank on a regular basis.
- Performance – Think of your tank like you would your car. If you never changed the oil in your vehicle, you would eventually be left with a car that runs poorly, and it may even break down on you. The same rules apply with your tank, as it will not be able to deliver the performance you expect if you continue to let residue build up.
- Flavor – If you start to notice that your flavored liquids don’t taste as good as they used to, it may well be that the residue in your tank is wreaking some havoc. One thing to remember here is that if it’s a burnt flavor you are getting, it could be that the coil needs to be changed. When you change it out, it’s always worth giving your tank a thorough clean just in case.
- When it’s brand new – The first thing I do whenever I receive a new tank is give it a good clean. This is to remove any machine oil and anything else that may be hidden in the tank whilst it was manufactured. We highly recommend cleaning any new tank you buy before you assemble and fill up with e-liquid.
WHAT WILL YOU NEED TO CLEAN YOUR TANK?
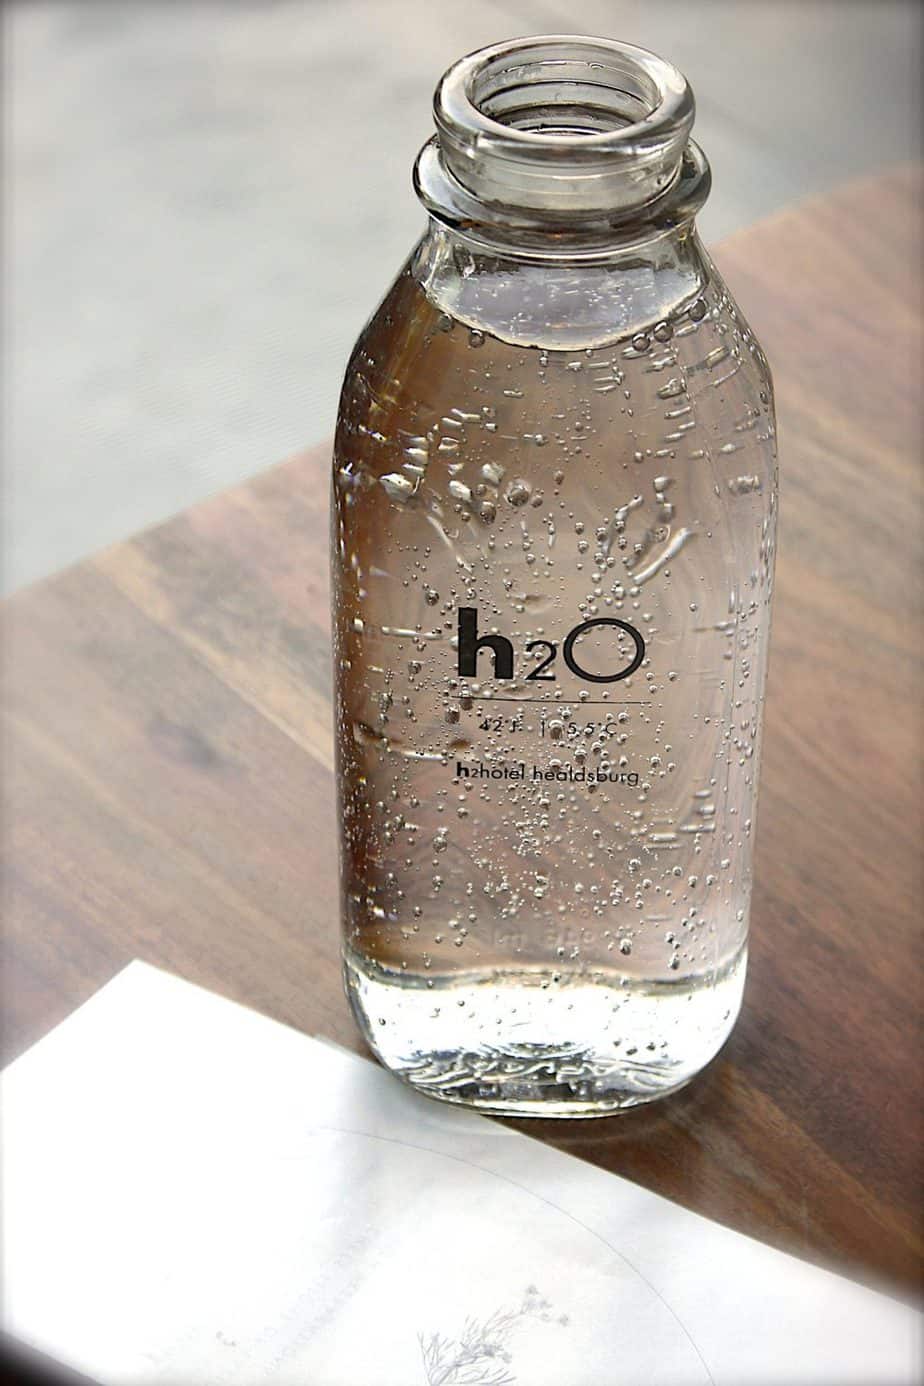
One of the main cleaning agents you’ll need is clean water. It doesn’t have to be distilled. You can simply use running water from your tap.
It doesn’t have to be distilled. You can simply use running water from your tap.
Besides water, high-proof alcohol has also proven to be an effective cleaning agent, with vodka being perhaps your best option here. It’s not completely necessary, but if you have it, you’re better off using it.
It’s not completely necessary, but if you have it, you’re better off using it.
While water does a good job of cleaning in itself, alcohol will really help get rid of any strong flavors that may linger in the tank.
There is also the option of ultrasonic cleaning, which is something we’ll discuss in more detail further into the guide.
Q-tips, dry cloths, and clean paper towels or napkins will also be needed to do an effective job. .
Things like bleach and other household cleaners are not recommended.
You’ll be inhaling the contents of the tank after cleaning, and vaping any of these chemicals could do you harm if they get in your system.
Okay, so now we’ve cleared that up, let’s move on to the actual cleaning process, which I’ll go through step-by-step.
HOW TO CLEAN YOUR TANK

Now that we have told why you should clean your tank and the items that you will need to perform the task properly, it’s now time to take you through the simple 7 step-by-step process.
This method is also one of the most cost-effective solutions for cleaning your tank:
- Step 1: Clear out any excess liquid from the tank
While your tank may appear to be totally empty, you can bet that there is still going to be some liquid hanging around in there.
Get that excess juice out before moving to the next step.
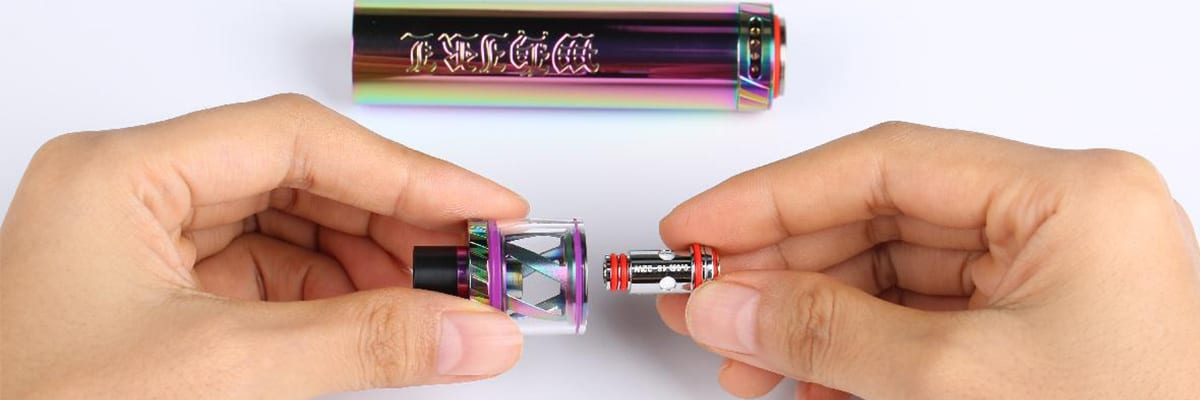
- Step 2: Fully dismantle the tank
Your tank probably came in a nice little box, all put together and ready to be attached to your sub-ohm mod. Before you start cleaning, you need to break it completely down so that you can clean each piece individually.
You would be surprised how many people run the tank under the tap while it’s still attached to the mod, only to wonder why the LCD display is going wonky after the fact.
It’s also extremely dangerous to let water get anywhere near your mod, which contain LiPo batteries.
- Step 3: Remove the Coil
Ensure that the coil has been fully removed. The coil does not necessarily need to be part of the cleaning process.
- Step 4: Rinse the Tank Components
Run the components under the tap to remove any excess liquid that is still clinging on for dear life.
- Step 5: Use Cleaning Device
There are a few good tools that you can use to get into the nook and crannies of the tank and all the other little pieces.
A Q-Tip can come in particularly handy, as can a clean, previously unused toothbrush.
For the broader cleaning areas, a microfiber washcloth is the way to go.
- Step 6: Allow Tank and Components to Air Dry Completely
Even if you believe that you have dried the tank and its components, there is sure to still be some water in there.
Allow all the pieces to air dry once again, and avoid placing them in direct sunlight to speed up the process, as this can lead to some of the more delicate parts becoming damaged.
- Step 7: Reassemble the Tank
Only do this once you are sure that all the pieces are completely dry.
If you follow these steps to the letter and do it regularly, you should find that you’re ale to keep your tank performing as good as when you first bought it, giving you a pleasant vaping experience for a long time to come.
ALTERNATIVE METHODS FOR CLEANING YOUR TANK
Earlier I mentioned a couple of alternative cleaning methods that you might consider using for your vape tank.
There are plenty of vapers out there who swear by high-proof vodka for all their tank cleaning needs, while there are others who are all about using ultrasonic cleaning.
Let’s take a closer look at ultrasonic cleaning…
Ultrasonic Cleaning
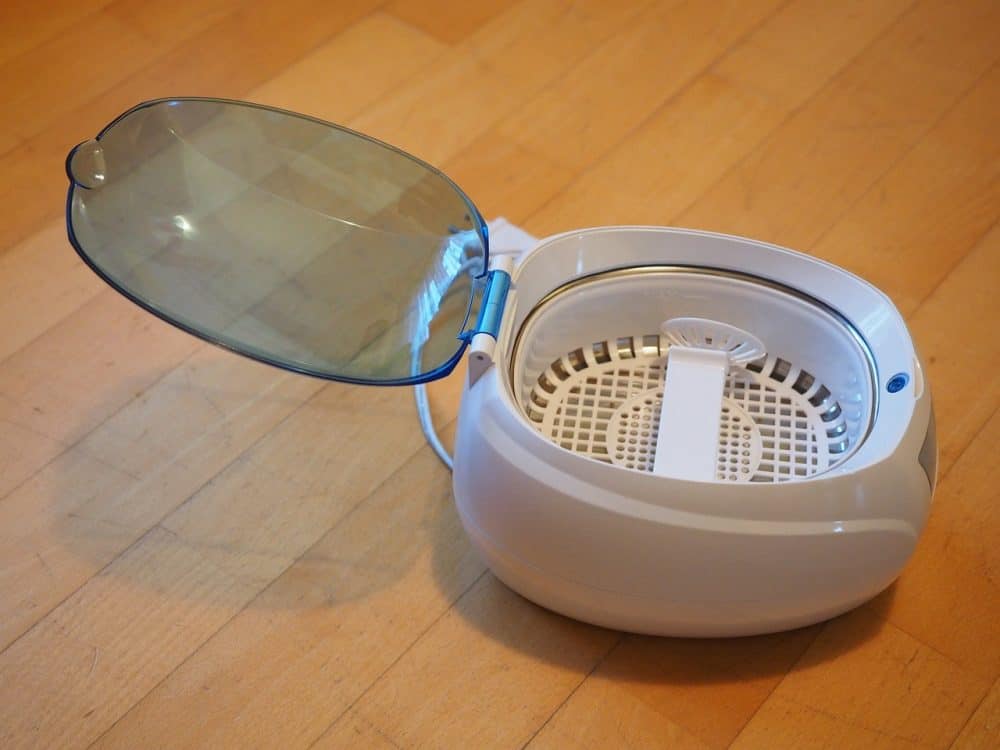
If you really want to get down deep into all the little threads and crevices that you’re unable to reach there may be no better way to do it than with an ultrasonic cleaner.
What is ultrasonic cleaning?
Wikipedia defines ultrasonic cleaning as “…a process that uses ultrasound (usually from 20–400 kHz) and an appropriate cleaning solvent (sometimes ordinary tap water) to clean items.”
This is not something that is reserved solely for vape tanks, though, as ultrasonic cleaners were more commonly used for cleaning jewellery.
If you already have this type of cleaner for your rings and necklaces, you can probably use it for your vape tank if the ultrasonic cleaner is large enough.
Water can be used in these units, as can alcohol, although it should be noted that any parts which are plastic, rubber, or vinyl in nature should not be left in the alcohol for too long.
Whether you use an existing cleaner or buy one from your local vape store, it’s important that you read and follow the instructions.
The bubbles that blast off the debris with these units are truly effective little cleaners, and one cycle is usually all it takes to get your tank looking like new.
It’s still recommended that you rinse off all the components after taking them out of the ultrasonic cleaner, before allowing them to dry naturally.
HOW OFTEN SHOULD YOU CLEAN YOUR TANK

There is no easy answer to this, as it really does depend on how regularly you vape.
The best times to clean are when you are switching to a new flavor of liquid, as this way you won’t get any cross-contamination.
If you constantly use the same type of liquid, then it may be easier to simply clean it every time you change the atomizer instead.
You will have the tank partially disassembled at that point anyway, so you may as well give it a clean.
If you are really not sure, then you should probably commit to cleaning the tank at least once per week if you use it daily.
CONCLUSION
In the grand scheme of things, your vape tank will not be the biggest investment that you make when you start vaping, but you can save yourself a good deal of money if you look after the tank that you do buy.
While the cleaning process may seem long and drawn out, it really doesn’t take too long and should only be a small investment of your time.
Follow the steps outlined above and you should end up with a long-lasting, good performing vape tank that will help ensure you get the best flavor your coils can deliver.
How do you clean your tank?